

 Country:

 City:
City:


Update by the author on 14/07/2026: a note has been added to the ‘Practical Information’ section.
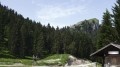
The walk starts at the car park at La Fétiuère, situated on the road leading from Bernex to Pré Richard (to get there from Thonon or Évian, follow the D52 first).
(S/E) To the right of the restaurant, take a path heading uphill (there are no signs at the start). After about ten minutes, you’ll reach a ski run. Try to join a track suitable for vehicles a little further up and follow it to the left; take care as the track is in fair condition, but you shouldn’t have any trouble finding your way.
(1) Not far on, between a hairpin bend and some buildings (Pré Richard), take a path on the left heading uphill. You’ll come to a bend followed by a hairpin bend to the left. Shortly afterwards, turn onto a path on the right heading uphill, keeping close to the edge of a ski run
(2) Once you reach the ridge, continue left along the path towards the Tête des Fieux, following the white-and-redGR®®5markings. Initially, the uphill slope isn’t too steep, but once you reach a ski run, it becomes quite steep.
(3) Carry on to the left along the ridge towards Combe. On a gently sloping path, you’ll pass an orientation table.
(4) Join a ski run and follow it straight ahead up a steep climb (temporarily leaving theGR®® route). Reach the top station of a chairlift.
(5) Then head for the summit of the Pointe de Pelluaz via a steeper path marked just before by a cross. Continue along the path following the ridge and then reach an unnamed peak marked by another cross (altitude 1,915 m). A slightly steep slope, followed by a gentler one, is encountered for a short while.
(6) At the Col de la Casse d’Oche, continue straight on along the ridge, heading uphill over gently sloping terrain.
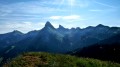
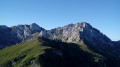
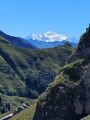
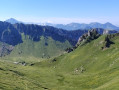
(7) You’ll reach a grassy summit near the Aiguilles de Darbon, where you can enjoy excellent views of the surrounding countryside (particularly towards the Dent d’Oche) as well as more distant vistas (notably towards the Mont Blanc massif). Retrace your steps back to the pass via the same route.
Note: From this point, I suggest an optional alternative route involving additional challenges: click here to find out more.
(6) Turn right towards Lac de la Case, heading downhill (GR®® signposting).
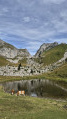
(8) Walk along the left-hand side of the lake, avoiding the wetland area on the left (this is asecond, filled-in lake), and continue straight on until you reach a junction. Turn right, following theGR®® route for about a hundred metres, then turn left at a fork (towards Château d’Oche). Shortly after a short climb, carry on straight ahead (do not follow the yellow arrow markings to the right) and then follow a path that continues without any significant change in elevation. You will come to another junction; carry on to the right, heading uphill.
(9) Just before the Col de Planchamp, take a path on the left (towards Dent d’Oche). From here, the regular presence of chains makes it easier to tackle a few tricky sections. The route initially runs more or less level, then continues up a few steep slopes through rocky terrain where you’ll need to use your hands . A degree of caution is advised on certain exposed sections. Watch out for falling rocks – starting with those you might dislodge yourself.
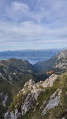
(10) Before reaching the summit, you’ll encounter one final challenge on a section that’s quite exposed to the drop. Beautiful panoramic views can be admired, just as before. After a short descent, you’ll reach the secondary summit marked by a cross. From here, a tricky descent follows as you traverse a slab section. It is advisable to make good use of the chains, especially if the ground is wet.
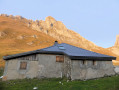
(11) Once you reach the refuge, take a moment to enjoy the lovely views once more. Head westwards and then begin another tricky section as you descend a chimney equipped with chains. Be careful of stones, which can easily roll beneath your feet and thus indirectly towards others. You’ll reach a junction on the outskirts of the Col de Rebollion; turn left, following the path downwards as it winds round a few hairpin bends.
(12) At the Chalets d’Oche, continue to the right along a wide path. After the hamlet known as ‘Haute Ugine’ (as shown on the IGN map), there are two options: either go straight on for a more direct route, or turn left for a gentler slope (the route follows thesecond option). These two routes rejoin further down. A few metres further on, you’ll come to another junction where there are yet two options: left, or straight ahead along an easier path (the route chosen is thefirst option). Return to the starting point after passing the restaurant (S/E).

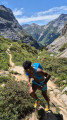
 . We were rewarded with a beautiful panoramic view at the orientation table, brilliant!
 ).
).

 Visorando Member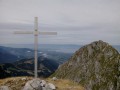
 Difficult
 Tourist office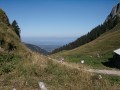
 Moderate